Restoring a vintage bike is a rite of passage for any classic motorcycle enthusiast, but it is one that home mechanics often avoid. There really is no reason to be nervous about taking on a bike project, though. With a little planning and forethought, everything usually goes pretty smoothly.
Ask yourself a few questions:
What is the overall condition of my motorcycle?
What is my intended use? (Daily rider, performance, show bike, etc.)
And some words of wisdom from experienced builders:
Begin with the end in mind.
Be honest with yourself.
Correctly identify your budget, time frame, and resources. This can protect you from complications further down the line.
***Try and get the motor running before you begin your tear-down. This will help you with 3 main factors; Ignition, carburation, and compression.***
The keyword here is planning. A bike project is a process, and it is one that is best served by a concerted plan of action. If you follow these steps that most professional motorcycle mechanics recommend, your preparation and elbow grease should reward you with your very own dependable motorcycle.
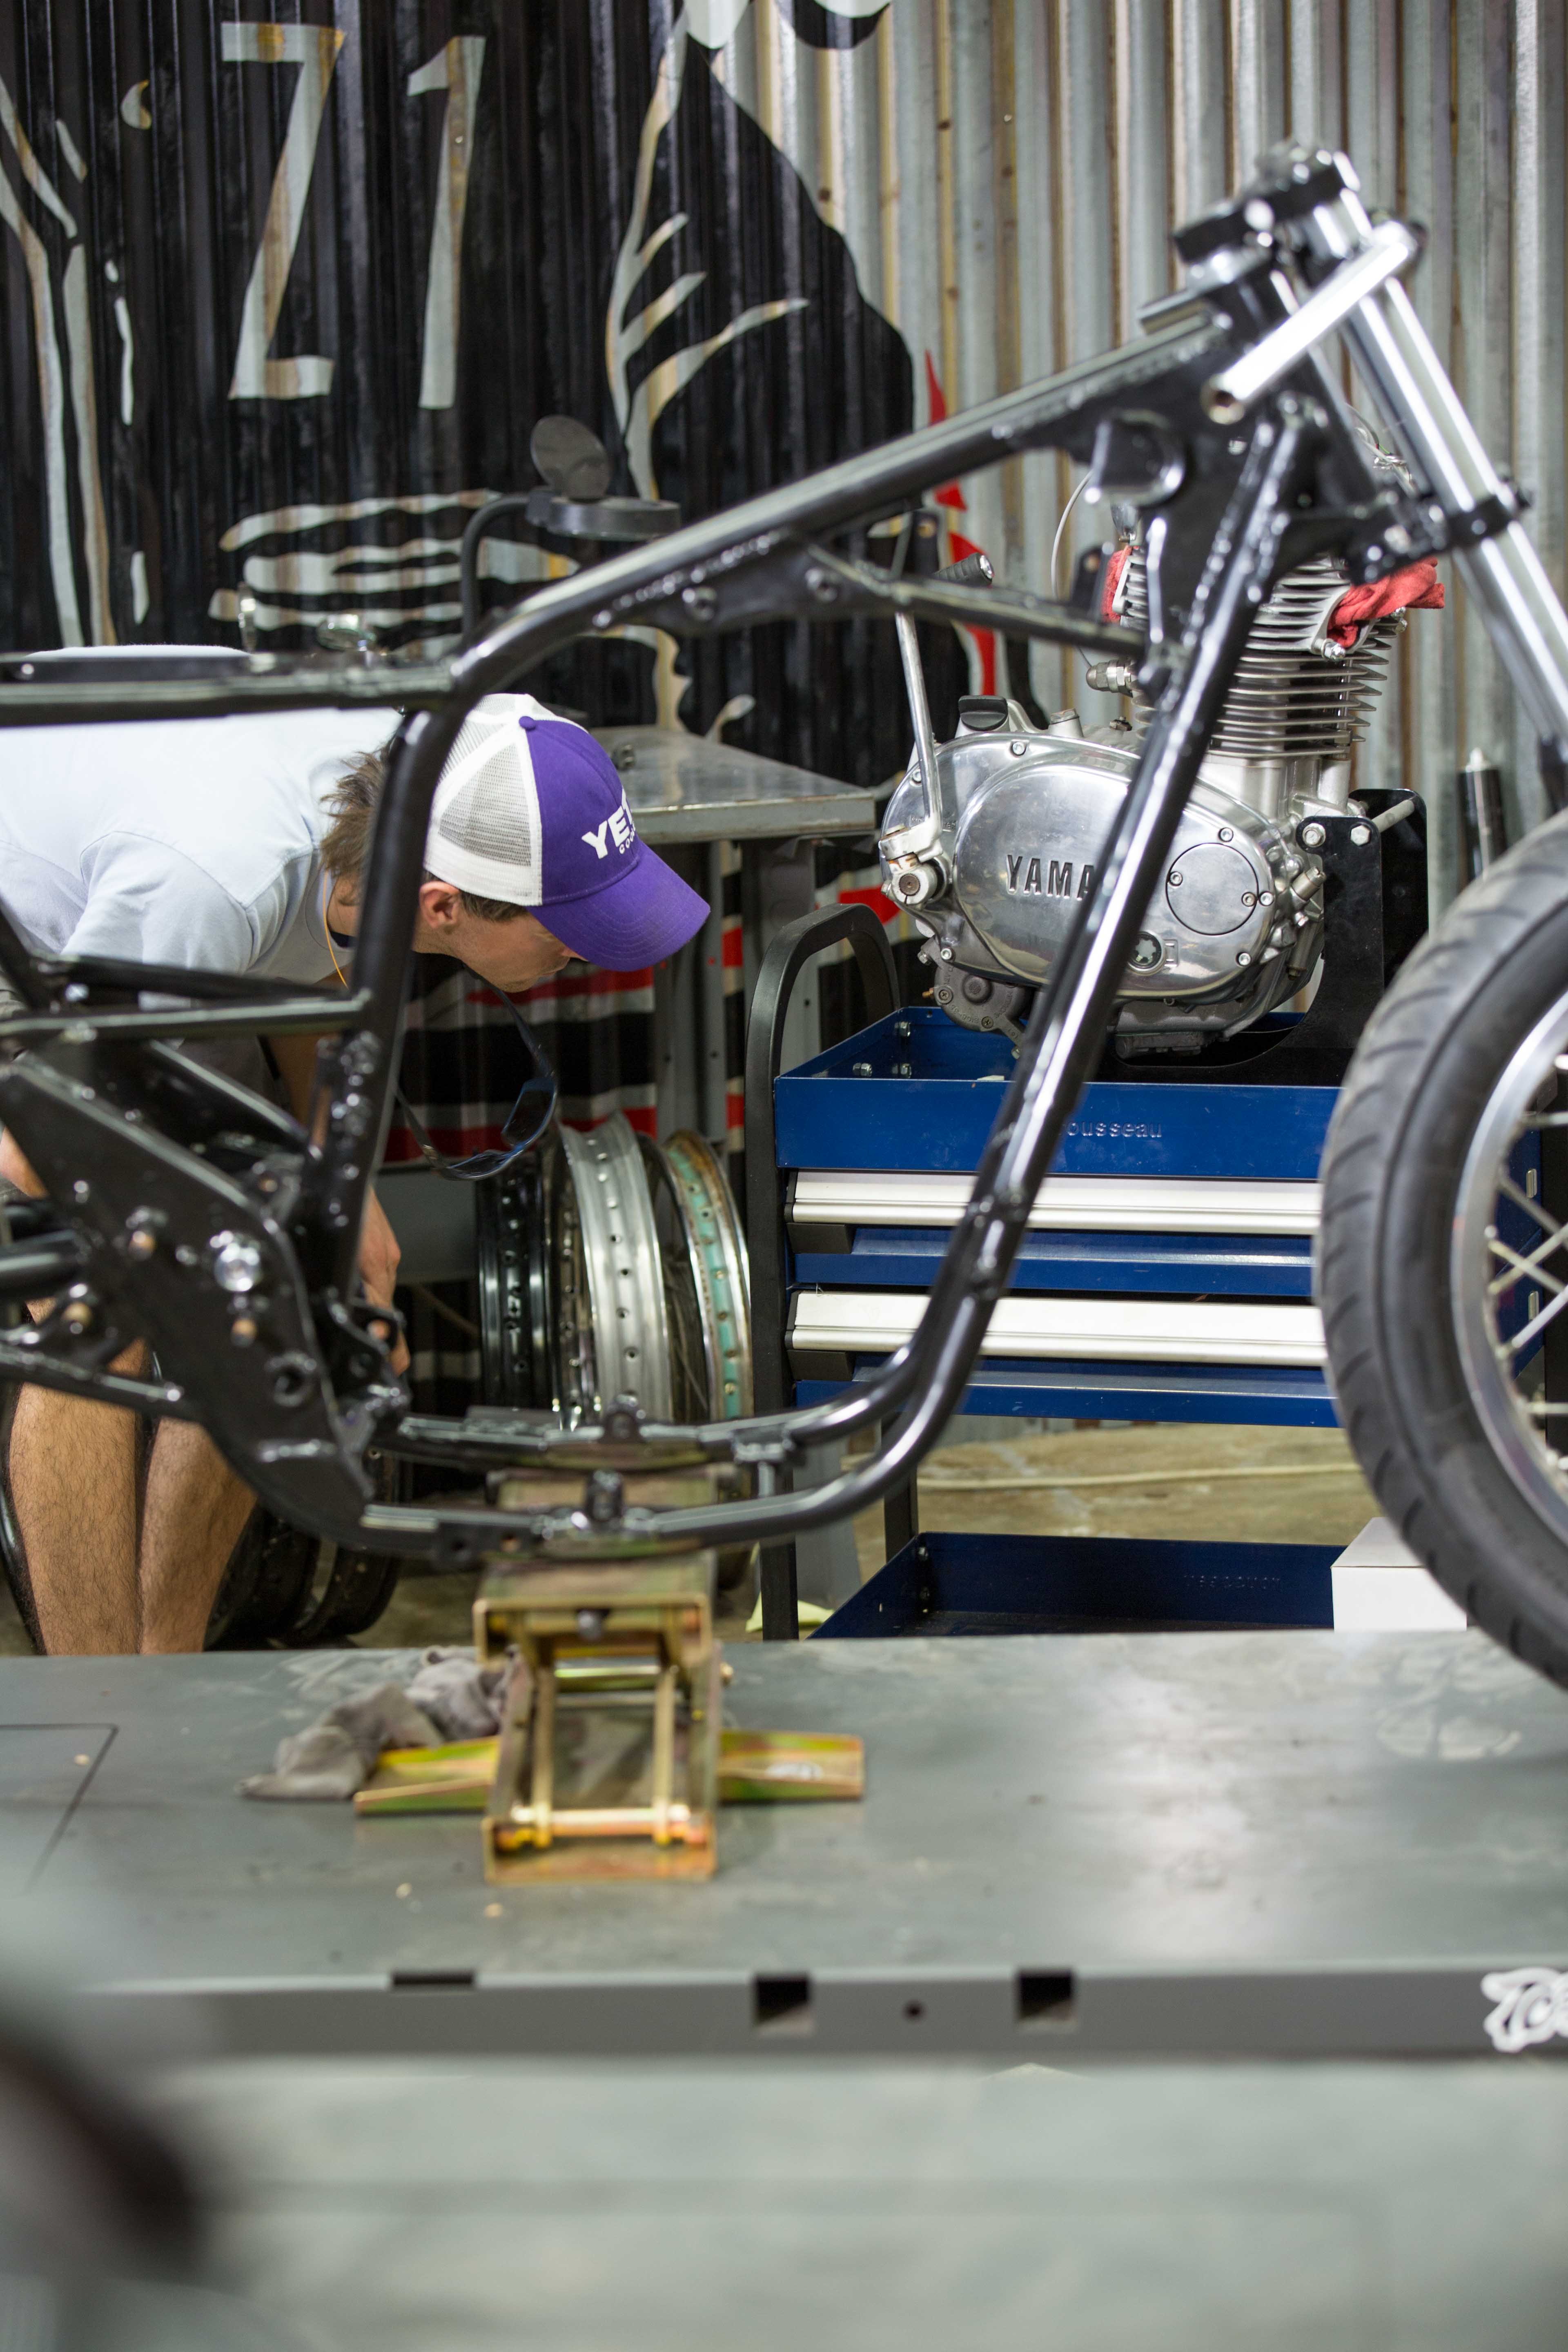
Step 1: Remove the Motor
The most obvious place to start any bike project is with the removal of the engine. Depending on the age of your bike and how long it may have sat idle, removing the engine from the frame may be more or less complicated. Begin by removing the intake and exhaust systems, then disconnect any other cables or hoses from the engine. Support the motor before loosening the mounting bolts, and break each bolt free before removing any of them.
As you begin this process, it is a good idea to take pictures of how everything was assembled before you start removing components. Even if you know the model inside and out, these pictures could prove to be an invaluable asset when the time comes to reassemble the bike. They can serve as a reference if things get confusing, and they can also help you decide on alternative methods of reassembly.
Step 2: Strip Down to Frame
Now that the motor is removed, the next step is to continue the “tear-down” all the way down to the bare frame. Whether your goal is a true-to-stock restoration or a one-of-a-kind custom build, it does not pay to take half measures.
Continue taking pictures as you go, and stay organized. Use boxes or whatever is at your disposal to keep parts together and label everything. Keep a running tab on the parts you will need to replace, and use the time when you are not turning wrenches to locate replacement parts. The effort you put into organizing and ordering components now will have a direct impact on how smoothly the reassembly process goes and how long it takes to get riding.
Step 3: Modify the Frame as Required
Any original bodywork on the factory bike will likely have corresponding tabs welded to the frame. If you’ll be making any changes to the stock design, you will need to grind off those old tabs. Also, if any new tabs are required, this is the time to weld them in place.

If you are going stock, the frame may not need painting if it is in pristine condition. However, any frame modifications will require touching up. Thoroughly inspect the frame for rust or broken paint, and consider making repairs while you have the opportunity. You can use a liquid paint stripper to get down to bare metal. You can then either prime and paint the frame yourself, or you can pay someone to powder coat it for you. Powder coating is a more permanent solution, but it can be pricey versus a home spray job.
Step 4: Confirm Suspension
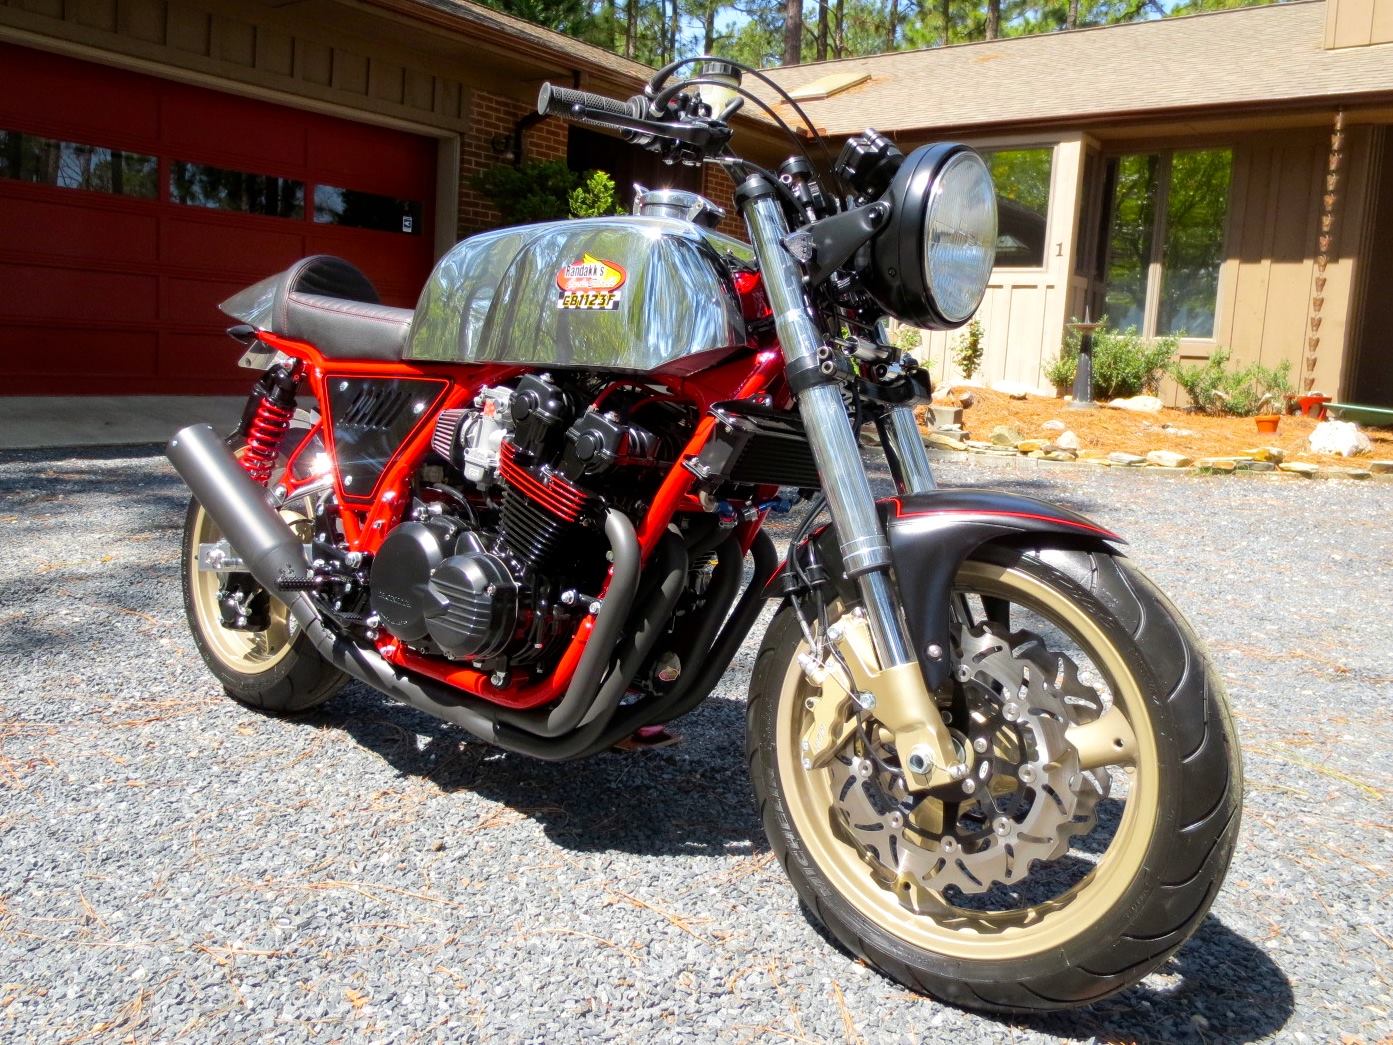
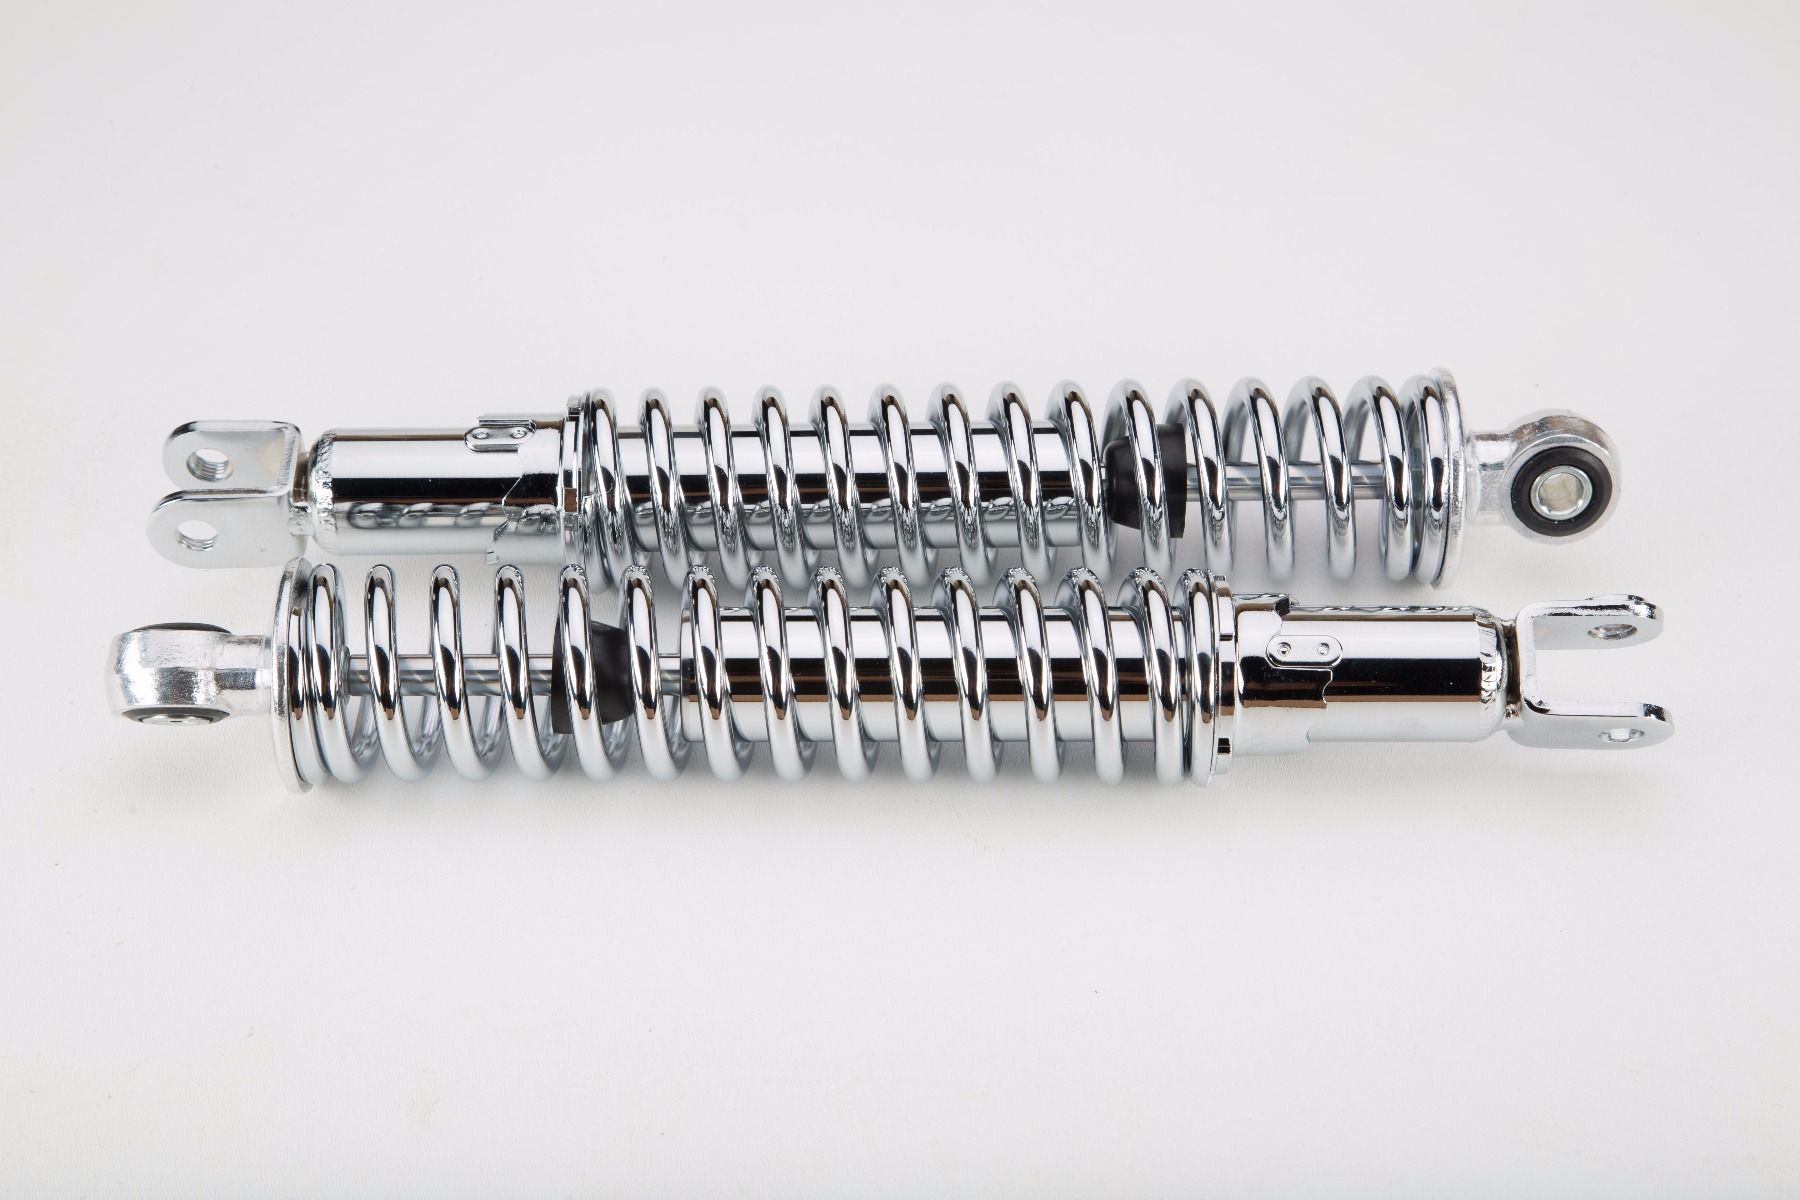
A properly functioning suspension system is critical to the safe operation of the bike. Do not just compress the suspension while the motorcycle is assembled and call it good if it bounces. This is also the time to consider any modifications to your suspension, such as inverted forks with a front end conversion kit. This can be a slippery slope but a slope worth trekking if you want that unique look from your front end. It makes all the difference in terms of comfort and performance, so don’t shortchange yourself on this step. Look for rust spots on the fork tubes, which can scratch the oils seals and cause leaks. Once suspension is confirmed, replace the oil seals and dust covers. Pesky fork seals can be removed with a suitable PVC pipe, though there are special tools for the job. Use high-quality fork oil, applying matching amounts on both forks. Inspect rear suspension for leaks. The shocks are not likely serviceable, so renew them if necessary.
Step 5: Choose Rim Size and Tires
Do not assume you are limited to using the wheels on your stock ride. If a different-sized rim fits in the swingarm, chances are you can ride on it – and swingarms are not really the road block they may appear to be. Match the tire to the purpose of the build, and make whatever accommodations are necessary. However, whether you are going back with the stock wheels or making changes, install brand new wheel bearings.
If you have spoked wheels, take the time to inspect the spokes for proper tension. If their condition seems questionable, re-lace a new set of spokes. (It isn’t as hard as it sounds). If your bike has alloy wheels, inspect the cush drive for wear and replace as needed. Don’t ignore this component. A worn cush drive can result in a rough ride and imprecise steering. Also, measure the brake discs with calipers, and compare the measurement to the minimum width given in the repair manual. Replace the calipers if necessary or look into converting to dual-disc brakes, which go hand-and-hand with inverting the forks.
Step 6: Determine Motor Condition

With the motor removed from the frame, take the opportunity to disassemble it. Do this no matter how well the bike seemed to run. The engine is the heart of the motorcycle and will require a complete diagnosis of health. If you haven’t already, invest in a shop manual, and consider purchasing a repair manual as well. The step-by-step tutorials in repair manuals are priceless, but they may not have all the torque specs and other specifics a shop manual will have.
Be sure you have all the necessary tools and a clean work space before you begin disassembling the engine. Purchase all the required gaskets ahead of time to ensure a speedy reassembly. Start at the valve cover and work your way down, checking each part for damage as you go. Replace all worn items while the engine is out of the frame and opened up. The future you will thank the present you, and your bike will, too.
Step 7: Decide on Motor Design
Now that your engine is torn down, you can consider what you want the final product to look like when you put it back together. You can paint the cases and covers yourself if the engine is showing the effects of age, or you can also simply replace faded engine covers to further customize your bike’s look.
Choose from painted or chromed designs to match the style of your restoration. Decide on your engine design early, and purchase these parts before you need them to minimize down time.
Step 8: Complete Rolling Chassis
The first step in reassembling your machine is to get it supporting its own weight. With the frame on a stand, assemble the suspension components and mount the wheels. Keep the frame supported while you check for a smooth roll on both the front and rear axles. Correct wobbling or other issues you uncover at this time. Don’t wait until later to address suspension or steering concerns. Tackle them while everything is already disassembled.
Check the steering head for smooth operation by turning the handlebars all the way left and right. If you detect any binding or dragging, replace the steering head bearings. Any looseness in the wheel hubs will likely necessitate a wheel-bearing replacement. Ensure your build rides as smoothly as it looks.
Step 9: Mount the Motor
Your motor is properly rebuilt, so it is now time to return it to its cradle in the frame. Using a hoist will make the job much easier, but you can improvise an engine stand if you must. Regardless of how you lift the engine, take your time during this delicate process. Mounting a motor is a dangerous operation that is only made worse by impatience.
Do not torque down any mounting hardware until you have all the bolts inserted and their threads started. Once everything is in place, consult your shop manual for torque specs on each bolt. Over-tightening motor mount bolts could make them impossible to remove. That said, a drop of thread lock on each mounting bolt is cheap insurance against chronic engine vibrations.
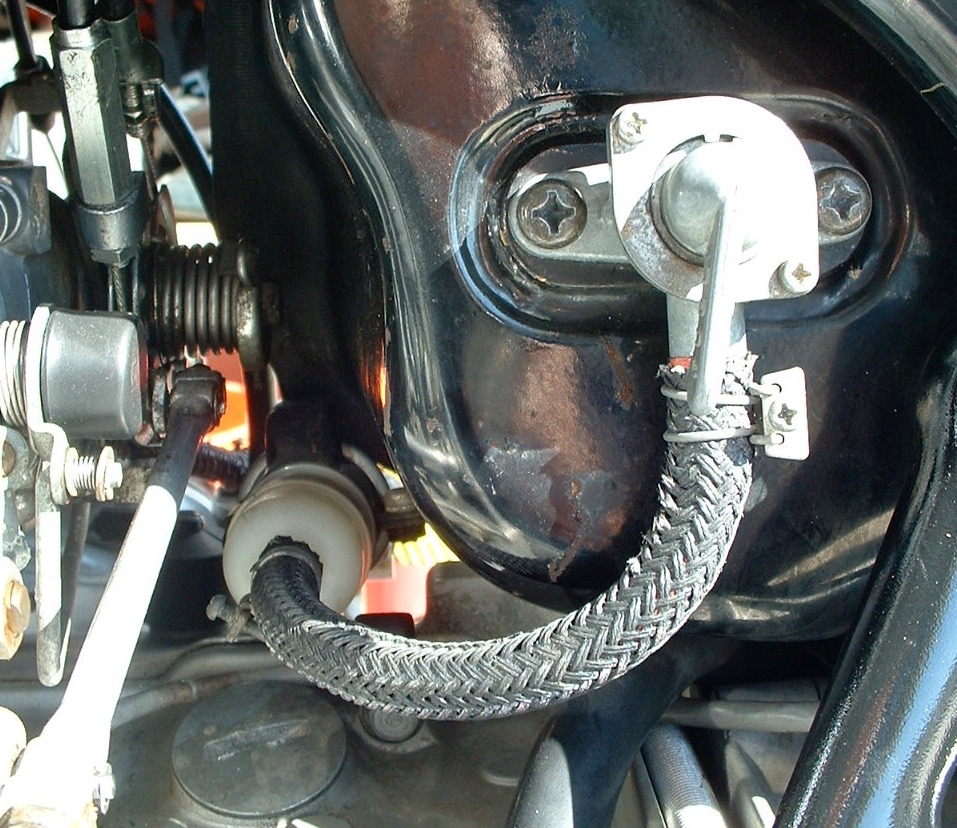
Step 10: Install Instruments and Wiring
When you began unbuttoning your project, you should have taking copious amounts of pictures. This is where that attention to detail pays off in dividends. As you assemble your wiring harness, refer back to those pictures and be absolutely certain to route the wiring and instrument cables as they were originally.
Make any changes thoughtfully. Manufacturers have different reasons for how they choose to route the stock wiring harness. Sometimes it is simply for convenience, but there may be other issues like heat or exposure to consider. Use a volt meter to check the entire harness for continuity before you run the wires, and replace any broken electrical components with new ones.
Step 11: Install Intake and Exhaust Systems
We’re almost there, and your hard work is about to pay off. You should now have something resembling a motorcycle in your garage, and it is time to assemble the exhaust and fuel systems. Inspect the carb holders for cracks or dry rot, and replace if needed. If you are uncertain of their age, err on the side of replacement. Leaky intake manifolds wreak havoc on air-fuel mixtures. With new ones, your thorough carburetor rebuild will reward you with peak horsepower and reliable starting. For more on carburetors and products we offer to help rebuild them, click here.
Next, check the condition of your exhaust system (headpipes, mufflers, gaskets, and hardware) and replace them if any rust or corrosion is present. If all is in working condition and you want that true vintage look, install the originals! Dab the starter threads with anti-seize compound before threading the new studs into the engine block, and do the same before you thread on the nuts. A little attention to detail now will make later repairs that much easier. Even if a future owner is the next one to remove the exhaust, look out for the next guy.
Step 12: Install Rider Operation Controls
Keeping with the theme of paying attention to detail, do not gloss over a single detail as you assemble the controls on the motorcycle. It is very easy to get in a hurry at this point, as the open road awaits. But, rushing means skipping steps, and we don’t want any leftover screws or bolts when we’ve finished our build.
Assemble the brakes with care, and be sure the levers are at a comfortable angle for your hands. If your stock control switches are cracked or glazed, replace them.
Step 13: Test Motor Functions
With the controls properly installed and their wires routed, it is time to make one last look through your pre-start checklist. Sounds silly, but be sure that the engine oil is at the correct level and the battery is fully charged. Do not hit the starter button or kick the lever until you are certain you have done everything possible to ensure a smooth initial startup.
Everything good?
Good.
Fire that baby up.
Now, don’t get discouraged if it is difficult to start the motor. It may take time to cycle fuel through the carbs and into the cylinders. Once the engine is running, allow the bike ample time to get to operating temperature before revving it. As it idles, walk around your machine and look for any signs of oil leaks. Pay attention to any unusual vibrations and address them now. Begin rolling the throttle open lightly, and check that it snaps closed when you release it. If the engine revs when you turn the handlebars, the culprit is likely the throttle cable routing.
Step 14: Test Drive
Before you grab your leather and skid lid, take some time to double check your controls. Make sure the brakes bite without dragging, and adjust the clutch for a smooth takeoff. Check all the lights. Lastly, give the entire machine a final once-over, looking for anything out of place. If all systems are nominal, you are ready for your test ride. Remain patient, though. This is only a test.
As you begin your ride, pay close attention to the operation of the clutch. Readjust to correct any play or slack now, rather than waiting until your ride is done. Once underway, try to be as smooth as possible to allow everything to seat together gradually. Increase power delivery incrementally, and use a similar approach to braking. It’s better to discover an issue at a moderate speed – when you’re sort of expecting it – than to reveal the problem in top gear.
Food For Thought
The path from a barn-find to a fully restored motorcycle is a complicated one. Each of the steps on this list is time-consuming, and each deserves its due attention. It is time well-spent and insanely rewarding. But, in learning these steps, you will gain much more intimate knowledge of your machine and its idiosyncrasies.


I am 2nd owner of a 75 GL, which has not run in likely at least 25-30 years. Low teens on the odometer, stock except for some touring luggage and clear windshield, and never seriously wrenched on to my knowledge before it went for its long nap. Last time on the road sometime in the 90’s, put up shortly after due to it having idle issues, probably carb related from not being ridden often enough. That said I know it needs the belt replaced and carbs overhauled, plus tires, brakes, likely all lines and hoses just due to age. Genuinely interested in opinions on if there comes a time when its better to just commit to doing a complete frame off restore and going through everything rather than spending the time getting it running first, especially since it may have been put up with fuel in the tank, the unknown effects of sitting for decades on the cooling system, hoses, etc. Besides the obvious issues with the tires and brake lines, everything else looks pretty good aside from some minor corrosion and pitting of some metal surfaces and touches of rust on the center stand and a few bolt heads. What is the best strategy to avoid an endless game of whack-a-mole or is that just the price of admission? My hope is to keep as close as possible to stock, except for the most common ignition, fuel system, and brake system upgrades. Also, any tips on addressing the cosmetic effects of long storage in less than ideal conditions? Love the gallery images of what look like pristine condition engines and carbs restored by Randakk customers and any tips for achieving these kind of results would be appreciated, thanks.