This Tech Tip is provided courtesy of Ross Davis – noted early ‘Wing expert. Ross’s website is here.
Purpose:
Because the rear drive flange is mounted in a somewhat flexible fashion, this tightening sequence aligns this flange and keeps it from premature wear and unwanted friction. It also reduces unnecessary vibration and reduces rear brake squeal.
Preparation:
The bike should be on the center stand or some other method of support to get the weight off the rear wheel.
Loosen (but do not remove) all fasteners that attach the rear wheel and final drive unit to the bike including the shocks and rear brake anchor bolt. On GL1000s – also loosen the 3 bolts that secure the lower right shock mounting fixture to the final drive unit. Later bikes may have a “pinch bolt” in addition to the main axle nut.
Procedure:
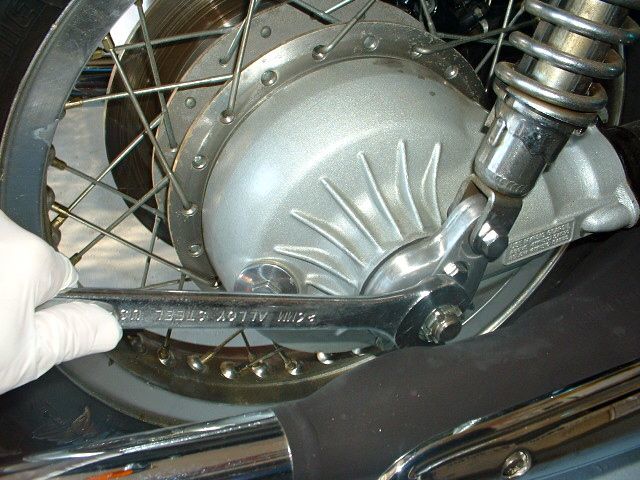
1. First, tighten the main axle nut. This insures that the drive flange seats into the rear wheel perfectly “square.”
2. Next, on GL1000s – tighten the 3 bolts that secure the lower right shock mounting fixture to the final drive unit.
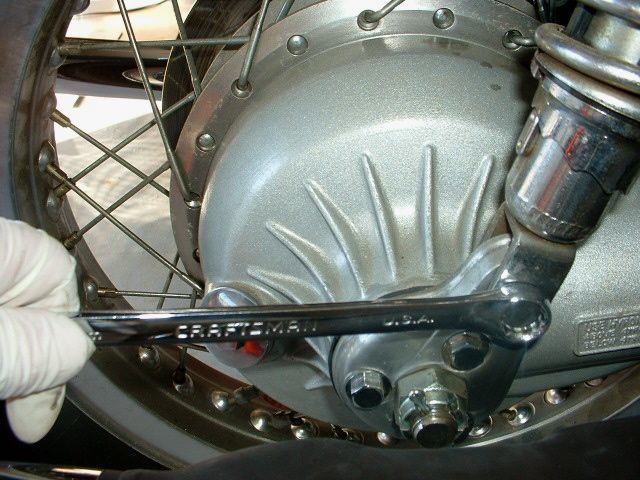
3. Then tighten the 3-4 nuts (depends on model year) that attach the final drive unit to the swing arm.
4. Any model year after the 1979 year has a pinch bolt on the axle’s left side . It should be tightened next.
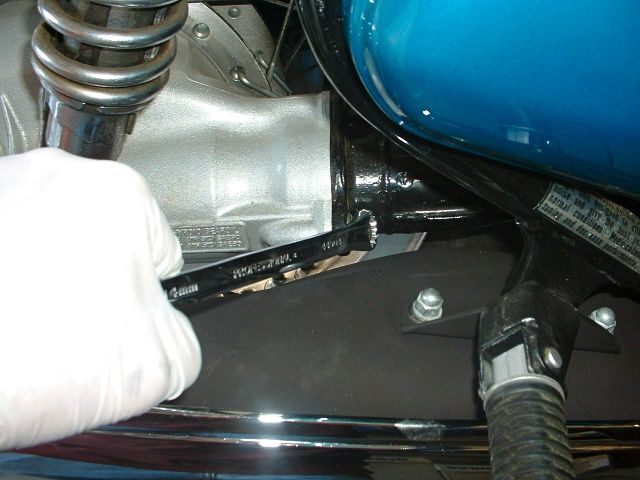
5. Then tighten the bottom shock bolts.
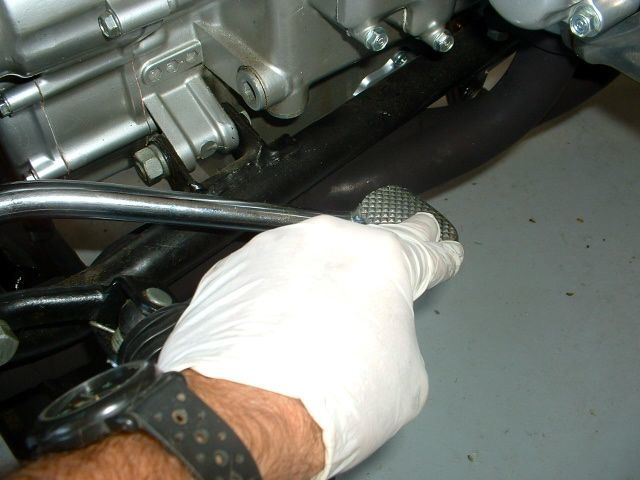
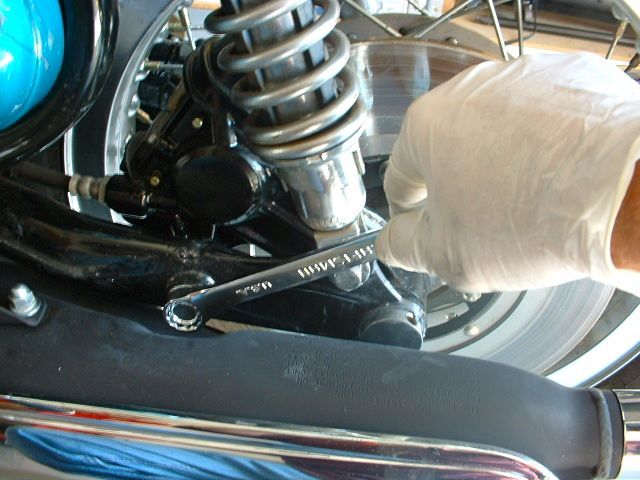
6. Finally, while applying pressure to the rear brake pedal (a helper is handy for this)…
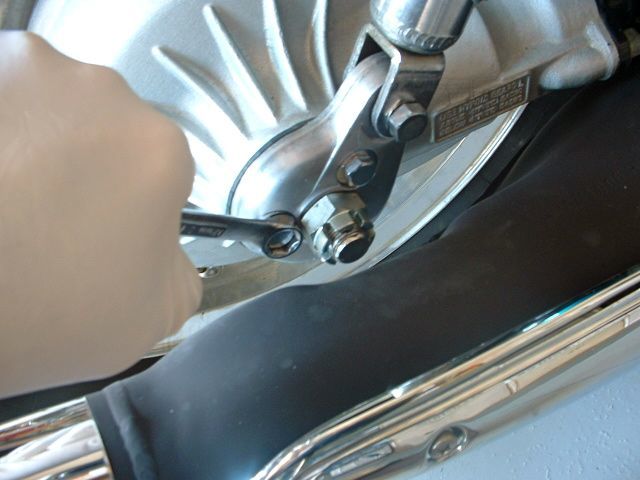
7. Tighten the brake caliper stay bolt. This last step helps align the rear pads to minimize brake pad squeal.
Per Ross:
“This is the process Honda uses to train service tech’s at Honda training centers. It is a lone module they receive credit for.
All attributions should go to Honda, but it is my interpretation.
The detail engineering is different from model to model depending on what design characteristics the engineers wanted. The idea is to align the final drive flange before any other item is tightened and settle the brakes (shoe or pads) before the caliper stay is tightened.
This works for all of Honda’s drive shaft bikes.”
Ross Davis
Ross’s website is here.



The final drive housing gets too warm to hold a hand on after a 45 minute ride in 65f ambient temps. Is that normal?
Probably OK. Depends on your hand’s heat tolerance. 🙂
I purchased a 1986 Interstate 1200 with only 13000 documented miles. I experienced head shake at about 42 mph if loosened my grip on the bars. I replaced the steering head bearings that appeared to have fettered and torqued to spec. Still head shake. I had a dealer adjust bearings, they said “too loose.” Still head shake. I have verified that front & rear wheel are correctly installed/torqued. I have installed new seals/progressive fork springs with correct fluid and oil volume. Rear shocks hold correct air pressure and dampers work well. New Pirelli tires. No unusual load on the bike. What have I missed? Thank you very much in advance!! Mark Lang
You will most likely find the solution here: http://www.randakksblog.com/low-speed-wobble/
Randakk